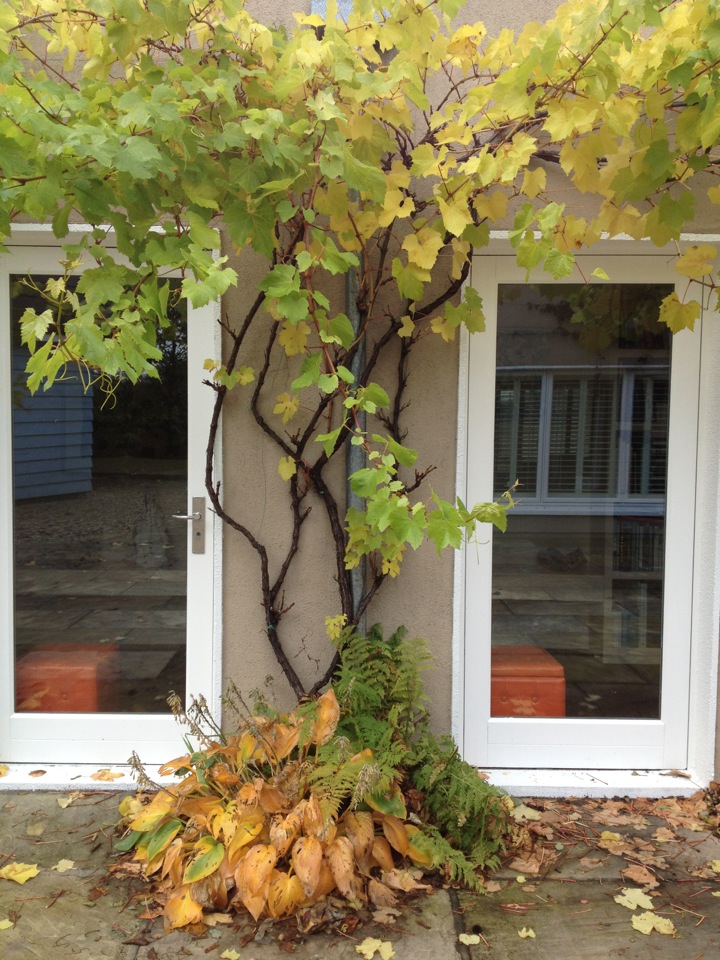
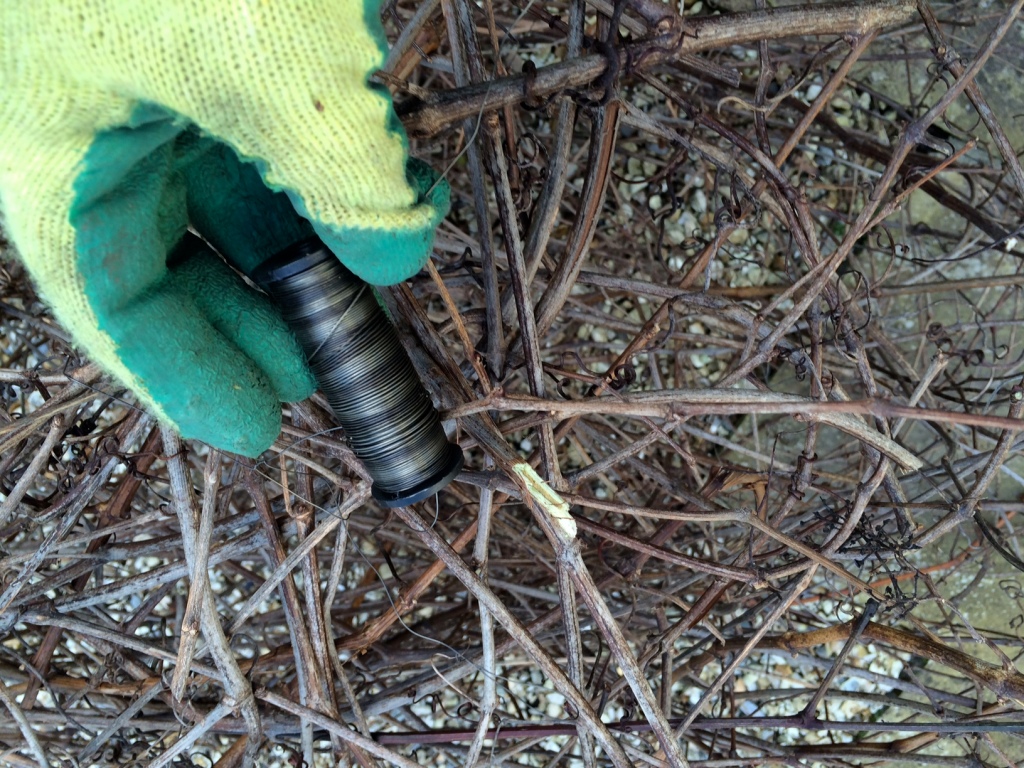
The 14th of February is the day to Prune your Vines in your Garden.
As a florist I’ve never been able to prune my Vines on the 14th of February as this is a day I’m always working in our flowershops creating lots of Valentine’s Bouquets.
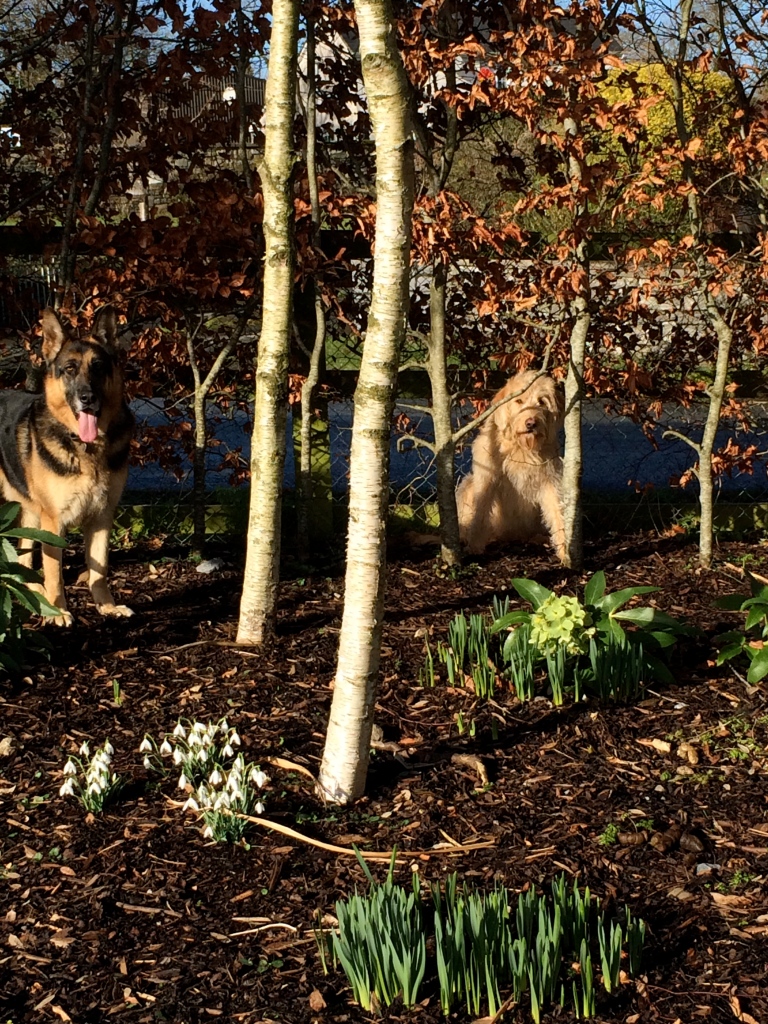
However as my garden is one my biggest hobbys I look forward to a nice winter’s day as soon as I’ve had my rest after Valentines in the shops year after year, to prune my vines and spend time with my dogs in the garden.
Every year this feels like the real start of spring for me with days getting longer, the sun is getting warmer and the garden exploding with lots of snowdrops.
In order to get the best yield from your grape vines you need to prune very rigourisly every winter, and I’ve often heared expert mentioning the 14th of February as the perfect day to do this.
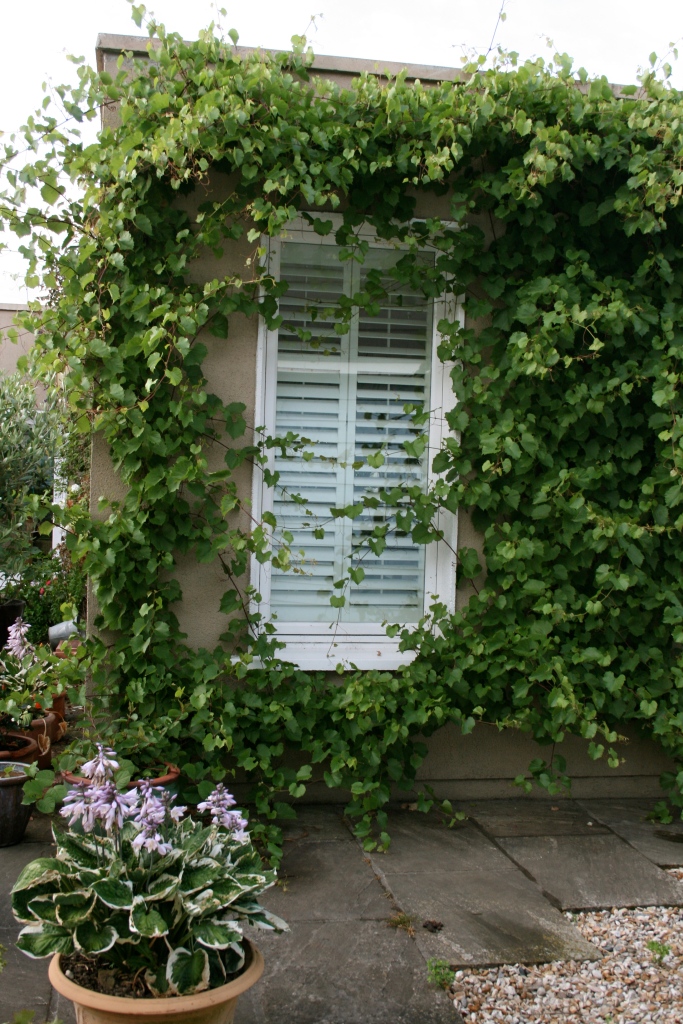
Even though the fruit isn’t the main reason I’m growing vines in the garden, I keep to this pruning regime every year. As we do not get enough sun to ripen all our grapes to sull size every year, some varieties work better than others in our Irish climate. For me it is mostly about the beautifull foliage and later on the autumn colours.
Back to the pruning.
The best way to prune a vine is to leave 3 to 4 stems grow, right from the base of the plant, up to a lenght of 3 to 4 meter and take away all side-branches to approx 4cm (2/3 inch) length. It is from here that the neew branches grow and the fruit is produced. Also by leaving the same few stems every year you create beautifull strong stems that look stunning in winter.
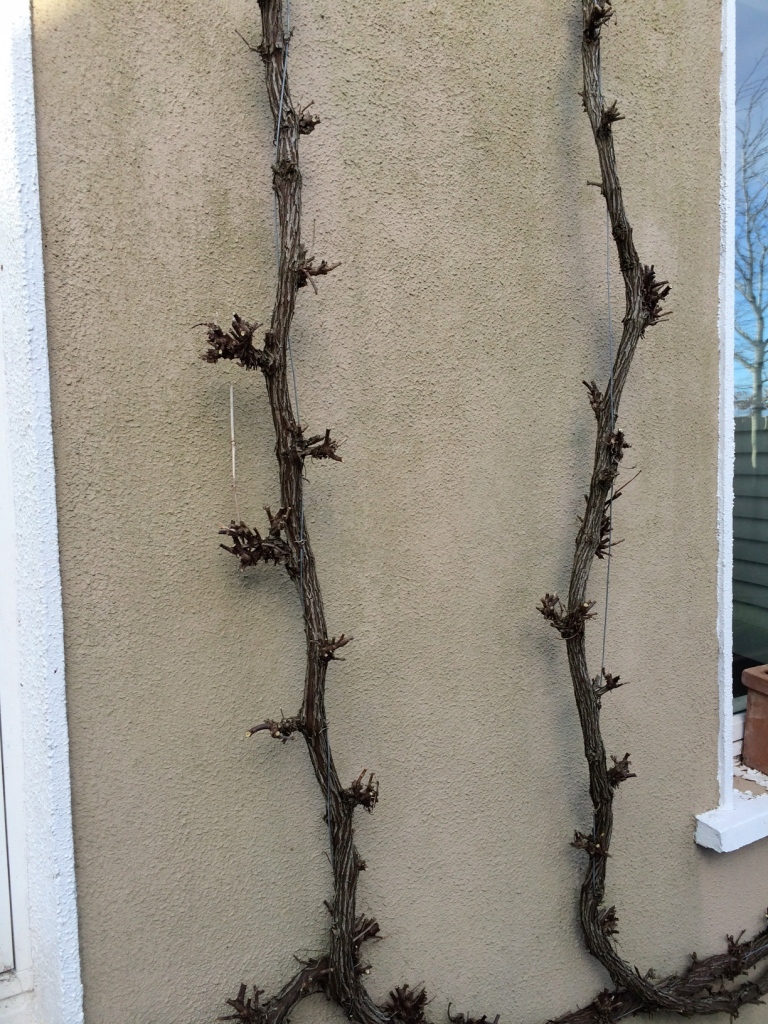
The Clean up after the pruning becomes the real fun for today.
After all the pruning you are left with lots of branches to clean up. Rather than having to pick it all up and filling up the composter in the garden, or even worse, if you haven’t got a composting site in your garden, having to pay to dispose of the pruned branches, why not turn this into your own garden sculpture.
Simply push the branches together and start rolling the bundle of twigs around your garden untill it becomes a big loos sphere of twigs.
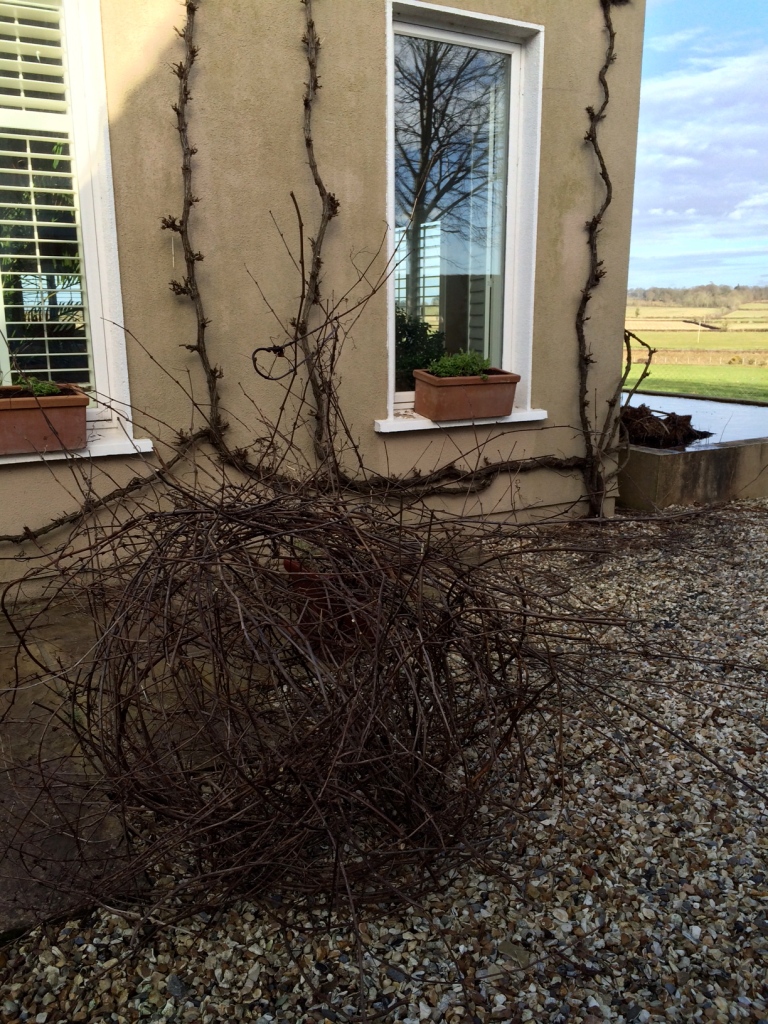
At this point I use a roll of florist wire, natural twine is also very good – but try choosing something that naturally de composes over time – and again keep rolling your shere around the garden white wrapping your wire around it.
Stronger ends of the branches can be carefully bend inside the centre of your sphere – be carefull not to break these as they are less flexible in the winter – and with your wire or twine you can keep going until you have the desired shape white pushing the complete object into shape while rolling it around your garden.
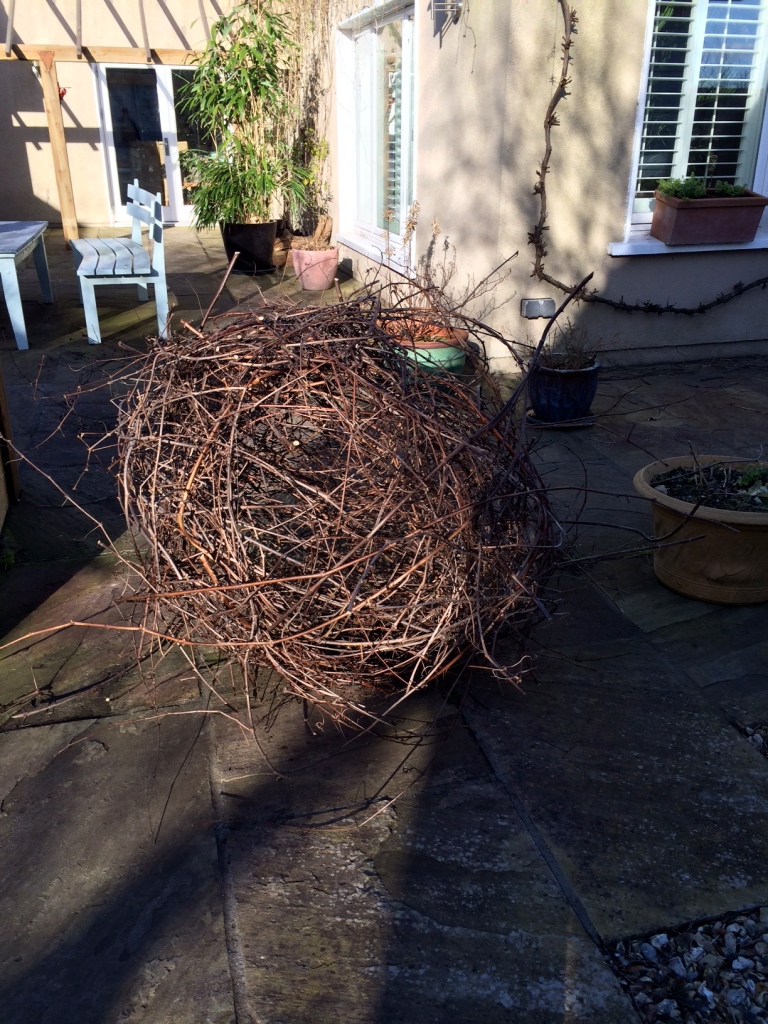
And there you have it. A Garden job where the clean up is the most fun of it all.
This stunning garden object will last for several years outside and can be used as a decorative object on your garden table, a base for climbing plants in your border or when dried you could ever make this into your own home made centrepiece light over the dining table.
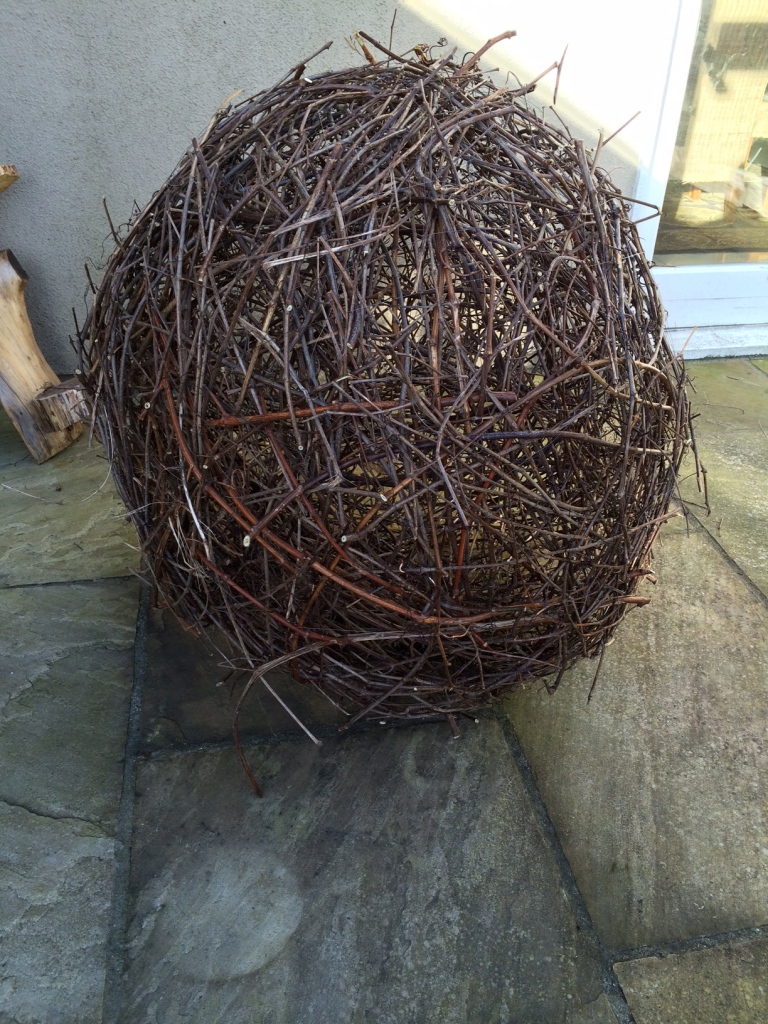
I hope you enjoyed this blog and get as much fun from your garden as I do time after time.
Lamber de Bie
Dutch Master Florist.
